Home> Company News> Radial clearance of traction motor bearings
- Address4 Pemimpin Drive #03-09, Lip Hing Industrial Building
- Factory AddressSingapore 576147
- WorktimeSeg - Sex (9.00 - 18.00) Sáb (9: 00-12: 00)
- Phone(Working Time)(65) 8257 8518
- Phone(Nonworking Time)(65) 8257 8518
- Fax(65) 6258 7399
Bearing radial clearance is one of the many key indicators in the quality of traction motor assembly. The amount of movement of the inner and outer rings of the bearing relative to the movement is the bearing clearance, and the amount of radial movement is called the radial clearance. The size of the clearance will be closely related to the bearing performance, such as affecting the basic load rating of the bearing and even the life, affecting the vibration or abnormal sound of the motor, and determining whether the bearing rolling elements are moving correctly. This paper analyzes the measurement method of the radial clearance of the bearing after assembly of the traction motor and improves the accuracy of the radial clearance measurement.
Traction motors are the key equipment in the main drive system of high-speed EMUs, electric locomotives and electric drive diesel locomotives. The traction motor bearing is used to support the radial load caused by the quality of the rotor shaft and the coupling, to achieve frequent operation and stop the cycle operation, and the bearing has to bear a certain dynamic load due to the vibration of the bogie during operation. Compared with the axle bearing and the gear bearing, the traction motor bearing has a harsh environment. The bearing configuration generally uses a cylindrical roller bearing on the transmission side, and a deep groove on the non-drive end that supports the axial movement function of the rotor. Ball bearings or cylindrical roller bearings. Bearing clearance is to ensure that the motor can run flexibly and without any delay, while ensuring smooth operation of the motor. Bearing clearance has a great influence on the dynamic performance (vibration, noise) and rotation accuracy of the motor and the bearing capacity of the service life (wear and fatigue). Therefore, assembly clearance measurement is an important indicator and detection means to measure the quality of components (bearings, end caps, bearing housings, etc.) and assembly quality.
1. Definition of bearing radial clearance
The radial clearance of the bearing refers to the amount by which one ferrule of the bearing is fixed, and the other ferrule is moved from one extreme position to the other in a radial direction when the ferrule is not subjected to load.
According to the state of the bearing, the radial clearance can be divided into the following three types:
1.1 Original clearance
The clearance in the free state before the bearing is installed. The original clearance is determined by the processing and assembly of the manufacturer. After applying a certain measurement load to the bearing during measurement, the original clearance is measured, which may also be called the theoretical clearance.
1.2 Assembly clearance
The clearance remaining after the bearing is mounted on the motor shaft and the end cap bearing chamber. The assembly clearance is smaller than the original clearance due to the interference fit, or the inner ring is increased, or the outer ring is reduced, or both.
1.3 Effective clearance
The motor rotates to a certain temperature state under the specified conditions and is regarded as the bearing clearance when the elastic deformation is caused by no load, that is, only the clearance variation caused by the inner and outer ring fit and the clearance variation caused by the temperature difference between the inner and outer rings are considered, The play when there is no load.
1.4 Working clearance
The clearance of the motor bearing when it is rotated under a certain load, it has considered the influence of the bearing load on the amount of elastic deformation.
2. Measurement of radial clearance of motor bearings
In the normal use of the motor, the radial clearance refers to the measurement of the radial clearance of the bearing after the assembly of the motor, that is, the assembly clearance of the bearing, and the assembly clearance is an important indicator for determining whether the motor bearing related parts (rotary shaft, end cover) are assembled in place. one,
The measurement method is as follows:
2.1 feeler method
Use the feeler gauge to measure the maximum load of the rolling bearing, that is, the 12-point position of the bearing after the motor is assembled. Insert a tight feeler between the rolling element and the inner ring. The shaft rotates for 1/4 turn, rotate once, measure once, continuously. The measurement is performed 4 times, and the average value is the clearance of the bearing. This method is widely used in cylindrical roller bearings and is not suitable for deep groove ball bearings.
2.2 Crowbar method
Adsorb the base of the dial indicator on the motor end cover, place the dial indicator head on the upper part of the rotating shaft close to the measured bearing, and lift the shaft by manual force or hydraulic cylinder force. The value of the dial indicator is the bearing. Radial clearance. This method is widely used in deep groove ball bearings, but this method has a large measurement error.
2.3 Turning over
Install the motor on a rotating machine that can rotate 180°, place the dial indicator head on the upper part of the rotating shaft close to the measured bearing, turn the motor 180°, and the value of the dial indicator pointer is the bearing radial clearance. This method is accurate, but it is time consuming, laborious, and has a high composition.
3. Improvement of measurement method for bearing radial clearance
In the above-mentioned gap measurement method, the feeler gauge method cannot measure the deep groove ball bearing, and the rollover method requires the purchase of a turning machine and a turning jig, which is costly, time-consuming and laborious, and is not suitable for mass production or batch inspection of the whole machine. Only the crowbar method has strong applicability, which satisfies the measurement of cylindrical roller bearings and deep groove ball bearings, and is convenient and fast, but the error is large. The current focus is how to eliminate the error.
3.1 Reasons for the error
3.1.1 Error caused by the shaft lifting force
When the rotary shaft is lifted to the extreme position by a manual or hydraulic cylinder, since the lifting force is not given or the manual lifting force is not ensured, the elastic deformation of the bearing itself and the housing is excessively large, which affects the accuracy of the measurement; If the small shaft has not reached the extreme position, the measured value must be small.
3.1.2 Error caused by the placement of the dial indicator
When measuring, the dial gauge is required to be placed on the rotating shaft closest to the bearing under test, but the dial gauge caused by the structure of the traction motor interferes with the component. In actual measurement, the distance between the measuring position of the dial gauge and the actual bearing position is large. Therefore, the error of the measurement point causes a deviation in the measurement result.
In practical applications, due to the deviation of the quality of the components of the rotor assembly and the error caused by the elastic deformation of the rotating shaft, the empirical value of the lifting force F setting measurement range should be 10-20% up and down, that is, the measurement The starting force F·(80%-90%)~measing the maximum force F·(110%-120%); when the dial gauge reads, it is more troublesome for the operator to calculate the recording clearance value according to the formula, which should be given according to the bearing manufacturer.
The original clearance range is produced, the actual clearance correspondence table is created, or the craftsperson converts the design clearance into the actual process measurement clearance.


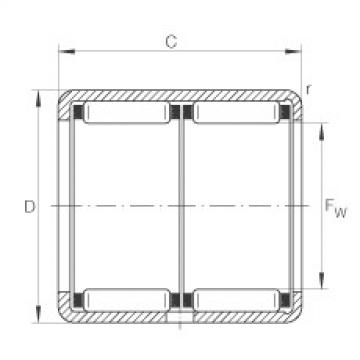 FAG Nadelhülsen - HK2030-ZW
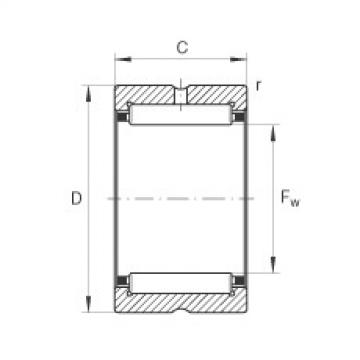 FAG Nadellager - RNA6902-XL
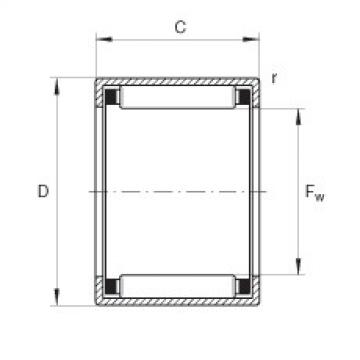 FAG Nadelhülsen - HK2016
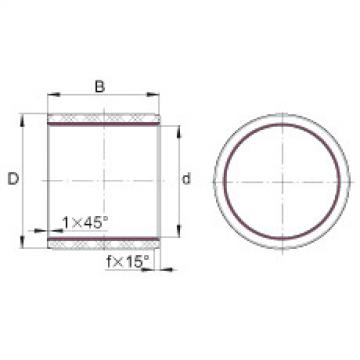 FAG Gleitbuchsen - ZWB202415
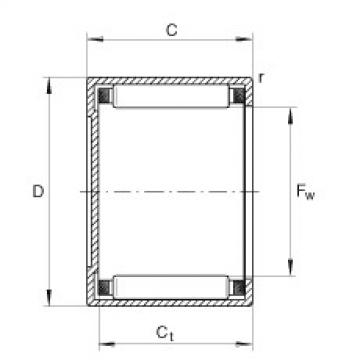 FAG Nadelbüchsen - BK2016